

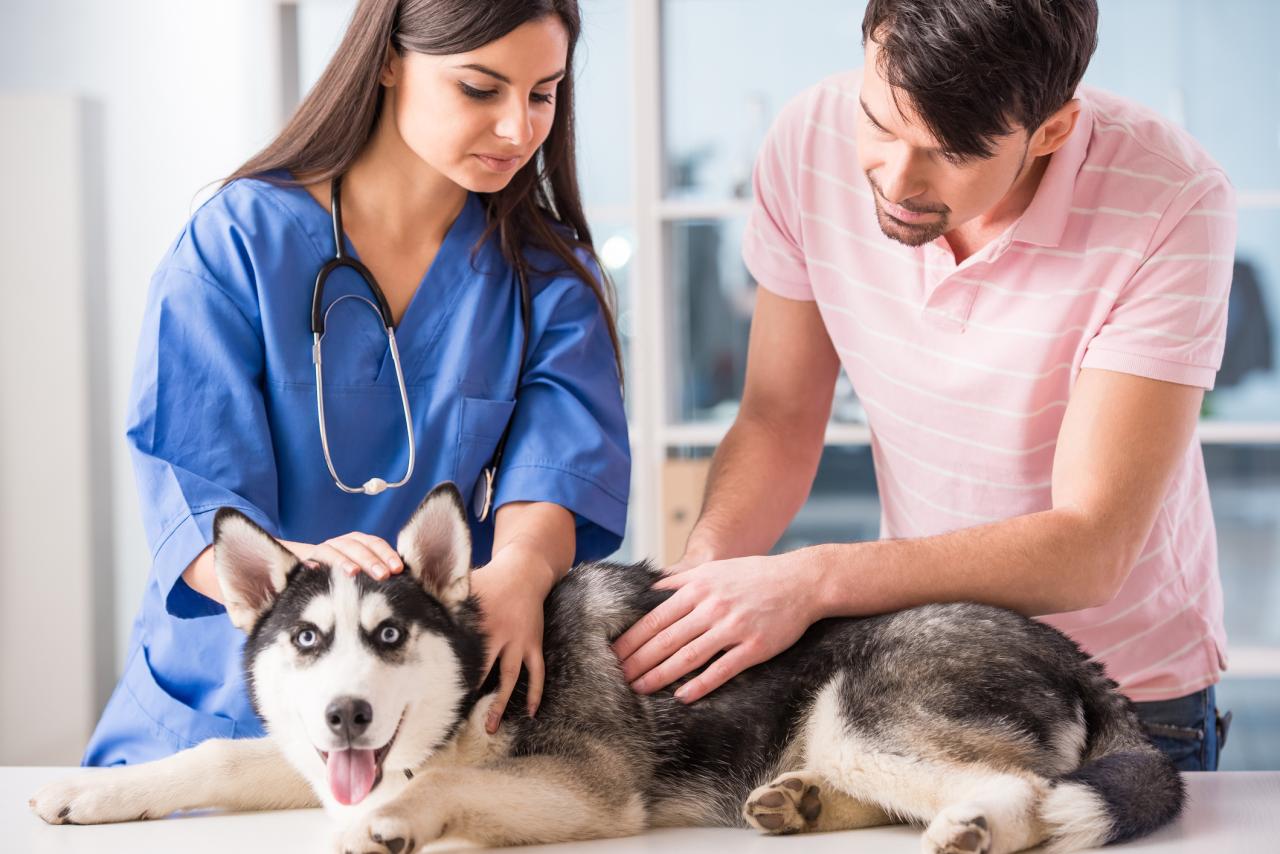
Every pet owner hopes they’ll never face a true emergency, but the reality is that accidents happen, and those first critical minutes before you reach the veterinary clinic can determine the difference between a full recovery and a tragic outcome.
Knowing what to do in a crisis, from a sudden choking episode to severe bleeding or suspected poisoning, is not just helpful—it’s a fundamental part of responsible pet ownership.
This guide breaks down the essential steps for pet first aid, focusing on the most common, high-stakes scenarios for both dogs and cats.
Remember, first aid is not a cure; it is the immediate care given to stabilize an injured or ill pet before professional veterinary treatment begins. Your primary goal is always to remain calm and transport your pet safely to the vet immediately.
Preparing for the Worst—The Pet First Aid Kit

The time to gather supplies is before an emergency strikes. A well-stocked, accessible first aid kit saves precious minutes when panic sets in. Keep your kit stored in a waterproof container and make sure everyone in the household knows where it is.
Essential Components for Your Kit:
A. Safety and Information
- A. Emergency Contact List: Your veterinarian’s number, the nearest 24/7 emergency clinic, and the Pet Poison Helpline number.
- B. Muzzle: Even the gentlest pet may bite out of fear or pain. A soft, properly-sized muzzle is essential for your safety and your pet’s stability during handling (never use if your pet is vomiting or choking).
- C. Leash and Collar: Always have a secure way to restrain and transport your pet.
- D. Medical Records: Copies of vaccination certificates and any chronic conditions or medications.
- E. Disposable Gloves: To maintain hygiene and protect yourself when dealing with blood or bodily fluids.
B. Wound Care and Bandaging
- A. Sterile Gauze Pads and Rolls: For cleaning wounds and applying direct pressure to bleeding injuries.
- B. Self-Adhering Bandage (Vet Wrap): This material sticks to itself but not to fur, making it ideal for temporary wraps.
- C. Adhesive Medical Tape: To secure gauze and dressings.
- D. Blunt-Tipped Scissors: Essential for safely cutting bandage materials or trimming fur around a wound.
- E. Saline Solution: A sterile eyewash or contact lens solution is perfect for gently flushing dirt or debris from eyes and wounds.
- F. Antiseptic Wipes or Solution: (e.g., Povidone-Iodine or Chlorhexidine) for disinfecting minor scrapes.
- G. Tweezers: To remove ticks, splinters, or foreign objects from paws or fur.
C. Monitoring and Support
- A. Digital Rectal Thermometer: Normal pet temperature is higher than humans (around 100°F to 102.5°F). Knowing their baseline is crucial for heatstroke or shock.
- B. Towels or Small Blanket: To safely wrap and contain an injured pet for transport, or to provide warmth against shock.
- C. Syringe or Dropper (Needleless): For giving oral liquids or flushing small wounds.
- D. Styptic Powder (or Cornstarch): To stop bleeding from a quicked nail.
- E. Glucose Paste or Syrup: For diabetic pets experiencing hypoglycemia (low blood sugar).
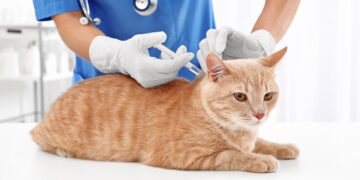
Handling High-Stakes Emergencies
When a pet’s life is in immediate danger, a swift, controlled response is critical. Approach your pet calmly, speaking softly, but prioritize their safety and quick transport above all else.
A. Controlling Severe Bleeding
Bleeding must be stopped quickly to prevent shock or death.
- A. Apply Direct Pressure: Place a thick, sterile gauze pad or clean cloth directly onto the wound. Apply firm, steady pressure. Do not lift it to check the wound; this disrupts clotting.
- B. Elevate (If Possible): If the injury is on a limb, and you are sure there are no broken bones, try to gently elevate the limb above the level of the heart to slow blood flow.
- C. Apply a Pressure Bandage: If blood soaks through the first pad, place a second pad directly on top and wrap the area firmly with a gauze roll and tape. The wrap should be firm enough to slow the bleed but not so tight that it cuts off circulation to the rest of the limb (check the toes frequently for swelling or coldness).
- D. Immediate Transport: Keep pressure applied and head straight to the emergency clinic.
B. What to Do If Your Pet is Choking
If your pet is pawing at its mouth, gagging, struggling to breathe, or has blue/gray gums, they may be choking.
- A. Remain Calm and Inspect the Mouth: Gently open your pet’s mouth and quickly check for a visible obstruction. If you see a small, easily grasped item, use two fingers or blunt tweezers to quickly sweep the object out (be extremely careful not to push it further down).
- B. External Maneuvers (Heimlich): If the object is not visible or removable, you must attempt to dislodge it.
- 1. Small Pets (Cats/Small Dogs): Hold the pet upside down by the hips (like a wheelbarrow) and give several sharp thrusts downward.
- 2. Large Dogs (Standing): Stand behind your dog and wrap your arms around their abdomen, just behind the rib cage. Make a fist with one hand, cup it with the other, and deliver 4-5 quick, sharp upward thrusts, similar to the human Heimlich maneuver.
- C. Recheck and Transport: Check the mouth again after each thrust. Even if the object is dislodged, your pet needs a vet visit to check for damage to the throat or potential aspiration pneumonia.
C. Suspected Poisoning or Toxic Ingestion
This is one of the most time-sensitive emergencies. Never induce vomiting without professional direction.
- A. Isolate and Identify: Immediately remove your pet from the source of the toxin and secure the remaining substance.
- B. Call the Experts: Immediately call your vet or a Poison Control Hotline (e.g., ASPCA Animal Poison Control). Do not waste time Googling. Have the packaging or substance name ready. They will tell you:
- 1. WHAT to do: Whether to induce vomiting (only safe under specific conditions and professional guidance), give activated charcoal, or flush the mouth.
- 2. WHEN to bring the pet in: Many toxins require immediate decontamination and supportive care.
- C. Bring the Evidence: Take the packaging, the substance itself, or a sample of your pet’s vomit to the clinic. This information is critical for quick diagnosis and treatment.
D. Heatstroke (Hyperthermia)
A common, deadly summer emergency, especially for brachycephalic (flat-faced) breeds. Symptoms include excessive panting, drooling, bright red gums, lethargy, vomiting, and collapse.
- A. Remove from Heat Source: Immediately move the pet to a cool, shaded, or air-conditioned area.
- B. Initiate Cooling: Do not use ice packs or cold water baths; this can constrict blood vessels and trap heat inside. Instead, use cool (not cold) running water or damp towels on the pet’s neck, armpits, and groin—areas where major blood vessels run close to the skin.
- C. Use a Fan: If available, place a fan to blow across the wet areas for evaporative cooling.
- D. Transport IMMEDIATELY: Stop active cooling when the temperature reaches 103°F and rush to the vet. Cooling must be continued carefully by professionals to prevent hypothermia (over-cooling).
The Ultimate Emergency—Pet CPR
Cardiopulmonary Resuscitation (CPR) is a complex technique, but it’s a last resort when your pet is unresponsive, not breathing, and has no heartbeat. CPR should only be performed after calling for emergency transport.
A. Check the ABCs
In the moments after a collapse, you must assess the situation quickly:
- A. Airway: Open the mouth, pull the tongue forward, and look for an obstruction.
- B. Breathing: Watch for chest movement and feel for breath from the nostrils for 5–10 seconds.
- C. Circulation (Heartbeat): Feel for a heartbeat on the left side of the chest where the elbow meets the ribs, or check for a pulse inside the upper rear thigh.
B. Rescue Breathing (If No Breathing)
- A. Position: Close the pet’s mouth and gently extend the neck to open the airway.
- B. Seal: Create an airtight seal over the pet’s nose with your mouth.
- C. Blow: Deliver two rescue breaths, each lasting about one second, watching the chest rise slightly.
C. Chest Compressions (If No Heartbeat/Pulse)
- A. Position the Pet: Lay the pet on its right side on a firm surface.
- B. Hand Placement (Varies by Chest Shape):
- 1. Barrel-Chested/Round Dogs (e.g., Bulldog, Labrador): Place hands over the widest part of the ribcage.
- 2. Keel-Chested/Deep-Chested Dogs (e.g., Greyhound, Doberman): Place hands directly over the heart (where the elbow meets the chest).
- 3. Cats/Small Dogs: Use the thumb and forefinger to encircle the chest directly over the heart and compress.
- C. Compression Technique: Compress the chest one-third to one-half of its width at a rate of 100–120 compressions per minute (think of the beat of the song “Stayin’ Alive”).
- D. Cycle: Perform a cycle of 30 compressions followed by 2 rescue breaths. Continue until you reach the veterinary hospital or the pet begins to breathe and move on its own.
Lesser-Known, High-Risk Situations
Not every emergency involves blood or collapse. Some common injuries require careful, specific attention to prevent secondary harm.
A. Fractures and Broken Bones
If you suspect a broken bone (pet is limping badly, refusing to put weight down, or the limb is at an odd angle):
- A. Minimize Movement: The priority is preventing further injury to tissue and blood vessels. Do not attempt to set or splint the bone yourself, as this can cause immense pain and worsen the fracture.
- B. Contain and Support: Gently slide the pet onto a flat, rigid surface (like a large board or piece of cardboard) to act as a stretcher. For a suspected leg fracture, use a towel or blanket to gently cradle the pet, minimizing limb movement during the transfer to the stretcher.
- C. Muzzle and Transport: Apply a muzzle before handling, and transport immediately while trying to keep the affected area as still as possible.
B. Burns and Scalds
Caused by heat, chemicals, or electrical cords.
- A. Cool the Burn: Immediately flush the affected area with cool (not icy) running water for at least 10 minutesto dissipate the heat and prevent tissue damage from progressing.
- B. Do Not Apply Ointment: Avoid butter, creams, oils, or any home remedies. These can trap heat and complicate veterinary treatment.
- C. Cover and Transport: Gently cover the cooled burn area with a non-stick gauze pad or a clean cloth, and seek immediate veterinary attention.
C. Seizures
A seizure is a sudden, uncontrolled electrical disturbance in the brain.
- A. Protect from Harm: Move any objects away from your pet that they might hit during the episode (furniture, stairs, sharp corners).
- B. Do NOT Restrain: Never hold the pet down or put your hands near their mouth (they can bite inadvertently).
- C. Time the Seizure: Note the exact start and end time. If the seizure lasts longer than 5 minutes, or if the pet has multiple seizures in quick succession, this is a life-threatening emergency known as status epilepticus—transport immediately.
- D. Post-Seizure Care: After the seizure, the pet may be disoriented, confused, or temporarily blind. Keep them calm, quiet, and warm, and contact your vet once they are stable.
Conclusion
The emotional turmoil of a pet emergency can paralyze even the most devoted owner. Yet, with preparation, calm assessment, and the foundational knowledge of pet first aid, you transform from a panicked bystander into your pet’s first and most critical line of defense.
The core takeaway is simple: First aid buys time, but only a veterinarian provides the cure.
Your role is to safely stabilize your companion and minimize secondary trauma while en route to professional care.
This begins with maintaining a comprehensive, accessible first aid kit, ensuring you have the necessary tools—from the humble muzzle to the antiseptic wipes—at your fingertips when minutes count.
More importantly, it involves recognizing the unique signs of life-threatening events: the frantic pawing of a choking episode, the rapid, shallow breaths of heatstroke, the tell-tale symptoms of poisoning, or the terrifying sight of severe, uncontrolled bleeding.
By learning the immediate, decisive actions required for each—such as applying direct, unyielding pressure to a bleed or initiating gentle, life-saving cooling for hyperthermia—you directly influence their survival odds.
Understanding when to intervene (like with CPR as a last resort) and, crucially, when not to intervene (like never inducing vomiting unless instructed, or avoiding splinting a fracture) prevents you from inadvertently causing more harm.
Mastering these skills is a profound act of love; it is the silent, ongoing promise you make to your pet that you will be ready to act on their behalf when they are most vulnerable, securing those precious minutes until they are in the hands of the emergency team.
Be prepared, stay calm, and you will be ready to give your best friend the best chance at recovery.


